It doesn't matter how much money you spend on an air mattress, or how good it is, they will always be susceptible to leaks. You can minimise the risk by looking after the mat, packing it away properly and preparing the ground by removing sharp objects, but there is always a chance.
As much as we enjoy 'roughing it', sleeping on rocky, uneven ground is just not comfortable or if you have guests staying over on an airbed, I'm sure they would appreciate not crashing on the bedroom floor!
Read below on the steps to finding and repairing a leaky bed.

Get the right repair gear
Before making a repair, be sure to check what kind of materials your bed is made from.
Most airbeds are made from PVC (or vinyl) and can be repaired with a wide range of patches and adhesives. Some hiker mats are made from a Polyester which can also be repaired with a wide range of adhesives and patches.
If you do go with the patch only route, without using any adhesives, just be aware that some patches may not be strong enough on their own to hold the amount of air pressure in a larger airbed, especially as you roll and move around on the bed. Smaller hiker mats are usually okay and it can be handy to quickly patch up a hole in the field and repair it properly at home when you can leave it to dry..
Air Mattress Repair
The most time-consuming part of fixing a leaky airbed is finding the source of the leak. Once found you can patch up most small holes and tears with a strong seam repair like Seam Grip, or larger holes with an adhesive and some repair patches like Tenacious Tape.
What you need
- Adhesive
- Soapy water
- Pen/Marker
- Isopropyl alcohol
Estimated time
- Prep & Application: 30 minutes
- Cure: 8-12 hours
Steps
- Locate the leak by spraying (or pouring) soapy water on the inflated mattress.
- Look for the soap bubbles. If the bed is leaking you will be able to see soap bubbles appear where the air is escaping the mattress.
If you see bubbles, dry this area and mark it with a pen or marker.
Check the other side of the mattress to see if the puncture went all the way through and out the other side, or is just on the one side of the mat.
- Once you have found the leak(s), deflate the air bed.
- Clean the repair area with isppropyl alcohol to remove any dirt or body oils that may prevent the adhesive from creating a good bond to the bed.

- Once clean and dry, apply a thin layer of adhesive (we recommend Gear Aid Seam Grip or similar) over the leak. Make sure the adhesive covers and extends at least 1-2cm past the edge of the tear or hole.
Allow the adhesive to fully cure (8-12 hours) before inflating the mattress and using it.
Sleeping Mattress Repair
When out on a walk or camping trip, you may not have the luxury to wait 8-12 hours for your bed to be ready for use. If you're caught out in this situation, you can use repair patches to speed up the process and get you by until the end of your trip.
What you need
- Adhesive
- Repair Patches
- Soapy water
- Pen/Marker
- Isopropyl alcohol
Estimated time
- Prep & Application: 30 minutes
- Cure: 20-30 minutes (the longer you can leave it though, the better the result)
Steps
- Locate the leak by spraying (or pouring) soapy water on the inflated mattress.
- Look for the soap bubbles. If the bed is leaking you will be able to see soap bubbles appear where the air is escaping the mattress.
If you see bubbles, dry this area and mark it with a pen or marker.
Check the other side of the mattress to see if the puncture went all the way through and out the other side, or is just on the one side of the mat.
- Once you have found the leak(s), deflate the air bed.
- Clean the repair area with isppropyl alcohol to remove any dirt or body oils that may prevent the adhesive from creating a good bond to the bed.

- Once clean and dry, apply a thin layer of adhesive (we recommend Gear Aid Seam Grip or similar) over the leak. Make sure the adhesive covers and extends at least 1-2cm past the edge of the tear or hole.
After application, wait 20-30 minutes for the adhesive to level out and become tacky.
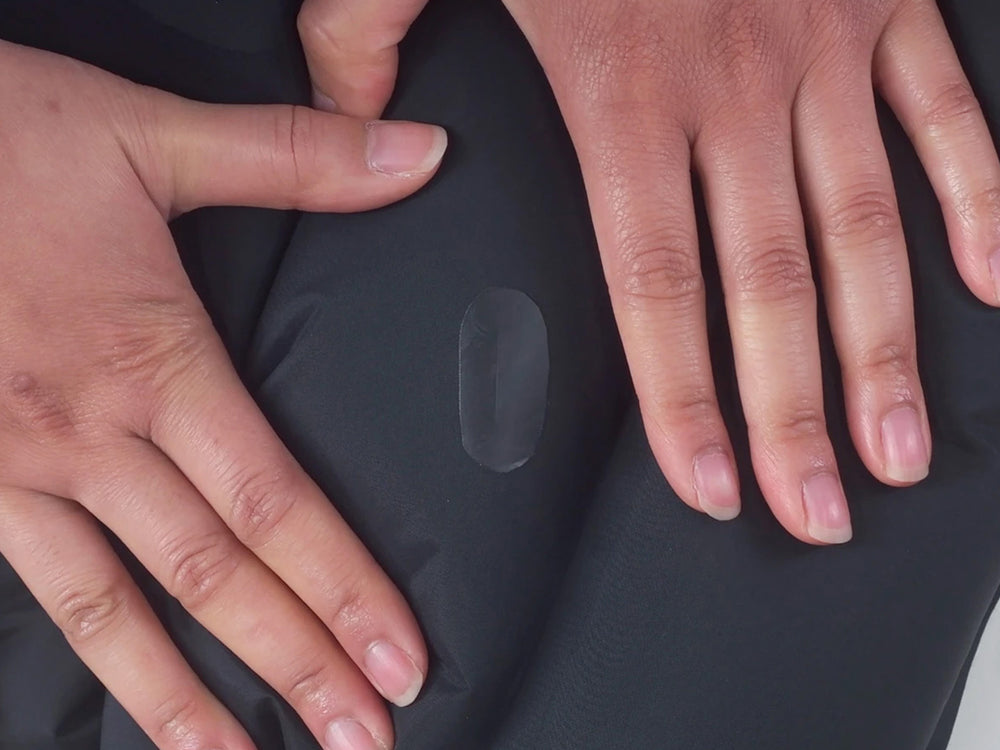
- Apply the repair tape (or patch) over the curing adhesive. Make sure the patch sticks directly to the dry mattress fabric, extending at least 1-2cm beyond the adhesive.
- Press the repair patch firmly onto the mattress. Your sleeping mat is now ready for use.

Pro Tip: If you don't have access to soap, you can fully submerge the mattress underwater and try to squeeze the air out, looking for bubbles being released around the leak.
Now that you have fixed your leaking air bed, you can enjoy a good night's sleep wherever you are!


Leave a comment